If you’re tired of subtle, understated lash styles and crave something that makes your eyes pop with attitude, spiky lashes are your perfect match. Unlike soft, wispy options, spiky lashes feature distinct, separated clusters that create a sharp, defined finish—ideal for anyone wanting to elevate their makeup from “everyday” to “eye-catching.” But with so many styles, materials, and application tips out there, how do you choose the right spiky lashes and make them look seamless? This guide breaks down everything you need to know, from picking the best pair to mastering application tricks that keep your lashes in place all day.
What Are Spiky Lashes, and Who Do They Suit?
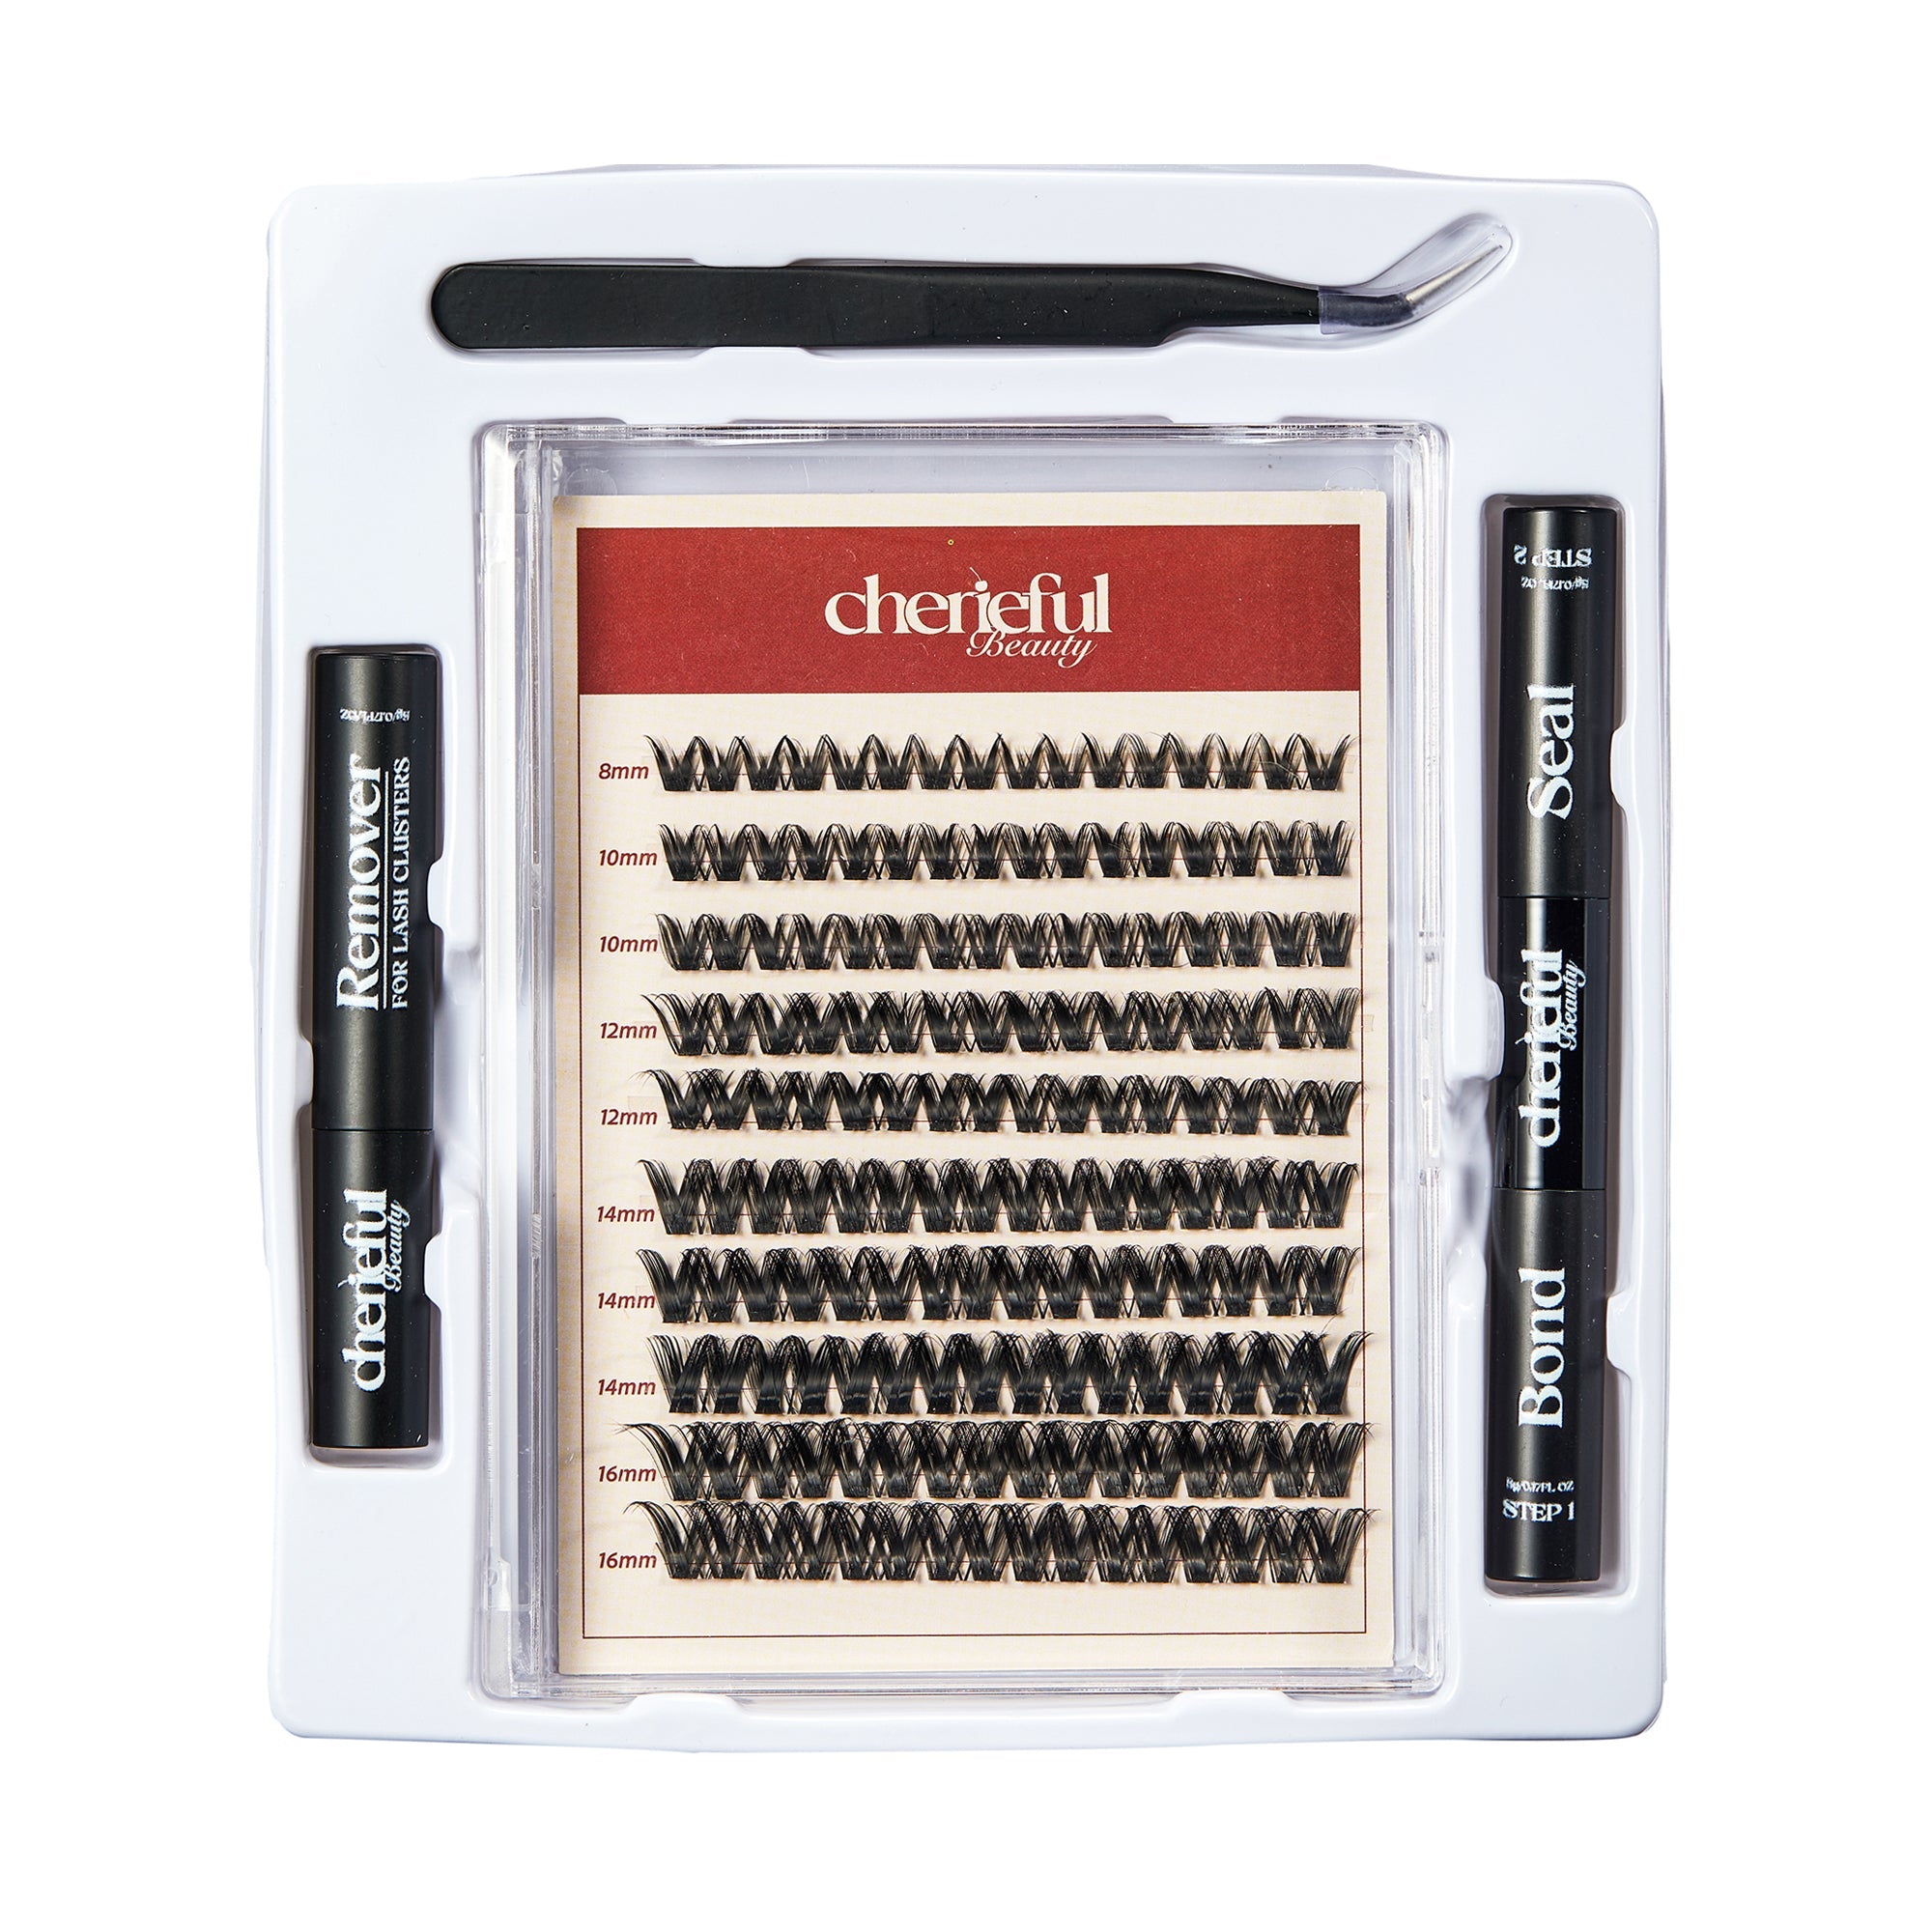
First, let’s clarify what sets spiky lashes apart. Unlike traditional strip lashes that blend into a single, smooth band, spiky lashes are designed with individual or grouped fibers that stand apart slightly, creating a “spiked” effect. This texture adds volume without looking heavy, making them versatile enough for both casual outings and bold events.
Spiky lashes aren’t one-size-fits-all—they work for nearly every eye shape, but choosing the right length and density matters:
- Almond eyes: Longer, more dramatic spiky lashes (think 14–16mm) will accentuate your natural shape and make your eyes appear larger.
- Round eyes: Opt for medium-length spiky lashes (12–14mm) with slightly shorter inner corners to avoid overwhelming your eyes while still adding definition.
- Hooded eyes: Look for lightweight spiky lashes with a thin band. Focus on longer fibers at the outer corners to lift your eyes and prevent the lashes from getting lost in your lid fold.
- Monolid eyes: Dense, evenly spaced spiky lashes work best here—they add dimension without blending into your lid, ensuring your eye look stays visible.
How to Choose High-Quality Spiky Lashes: Materials & Styles
Not all spiky lashes are created equal. The best pairs balance durability, comfort, and a natural-looking spike effect. Here’s what to look for:
1. Material Matters
- Synthetic fibers: The most common option for spiky lashes. Synthetic lashes hold their shape well (critical for maintaining those sharp spikes) and are often more affordable. Look for cruelty-free synthetic blends—they’re soft against the lids and less likely to irritate sensitive eyes.
- Human hair: If you want a more natural finish, human hair spiky lashes are a great choice. They’re lightweight and blend seamlessly with your natural lashes, but they may lose their spike shape faster if exposed to moisture (like humidity or tears).
- Magnetic: For beginners or anyone who hates glue, magnetic spiky lashes are a game-changer. They use tiny magnets to attach to your lids, and many styles still offer that sharp, separated look—just make sure to choose a set with strong magnets to avoid slipping.
2. Style Options for Every Vibe
Spiky lashes come in countless styles, so you can match them to your mood or occasion:
- Natural spiky lashes: Short (10–12mm) with subtle spikes—perfect for work or school, as they add definition without looking over-the-top.
- Dramatic spiky lashes: Longer (14–18mm) with thick, bold spikes—ideal for parties, concerts, or nights out. These often have a cat-eye shape (longer outer corners) to amplify the edgy vibe.
- Colored spiky lashes: From jet black to neon pink, colored spiky lashes let you experiment. Black is classic, but dark brown works well for softer looks, and bold hues (like purple or blue) are great for festivals or costume makeup.
Step-by-Step Guide to Applying Spiky Lashes
Even the best spiky lashes won’t look good if applied incorrectly. Follow these steps for a flawless finish:
- Prep your natural lashes: Start by curling your natural lashes with an eyelash curler—this helps the spiky lashes blend in and stay lifted. Apply a thin coat of mascara to add grip; let it dry completely before moving on.
- Measure and trim the lash band: Hold the spiky lash strip against your lash line. If it’s too long (most are!), trim the outer corner (never the inner—this can irritate your eyes) until it fits perfectly.
- Apply glue strategically: Use a high-quality lash glue (clear or black—black adds extra definition). Apply a thin line along the lash band, then wait 30–60 seconds for the glue to get tacky. Tacky glue adheres better than wet glue and prevents the lashes from sliding.
- Apply from the center out: Place the center of the spiky lash band on your natural lash line first. Then, press the inner corner down, followed by the outer corner. Use tweezers or a lash applicator to adjust the spikes—make sure no fibers are sticking together (this ruins the spiky effect!).
- Seal the deal: Once the glue is dry, apply a second coat of mascara to blend your natural lashes with the spiky ones. For extra hold, use a lash sealant (optional) to keep the spikes in place all day.
How to Care for Spiky Lashes (Make Them Last!)
With proper care, synthetic spiky lashes can be reused 5–10 times, and human hair ones up to 15 times. Here’s how to keep them in top shape:
- Remove them gently: Use an oil-free makeup remover (oil breaks down lash glue and damages fibers). Soak a cotton pad in remover, hold it against your lash line for 10 seconds, then peel the lashes off slowly—never pull or yank.
- Clean the band: After removal, use a Q-tip dipped in remover to wipe off any leftover glue from the lash band. Be careful not to pull the spikes—this can make them lose their shape.
- Store them properly: Place clean spiky lashes back in their original case. Avoid leaving them out in the open, as dust and moisture can ruin the fibers.
Spiky Lashes vs. Other Popular Styles: When to Choose Which
Spiky lashes are bold, but sometimes you might want a different look. Here’s how they compare to two other fan favorites: Anime lashes and Fluttery lashes:
- Spiky vs. Anime lashes: Anime lashes are ultra-long, thick, and often feature exaggerated shapes (like winged or doll-like). They’re perfect for cosplay or anime-inspired looks, while spiky lashes are more versatile—great for everyday edginess without the “costume” feel.
- Spiky vs. Fluttery lashes: Fluttery lashes are soft, wispy, and create a romantic, doe-eyed effect. They’re ideal for dates or weddings, while spiky lashes are better for making a statement—think concerts, festivals, or when you want your eyes to be the focal point.
At the end of the day, spiky lashes are all about confidence. Whether you’re a beginner or a makeup pro, they’re easy to style and guaranteed to turn heads. With the right pair and a little practice, you’ll be rocking bold, beautiful spiky lashes in no time.